We are all familiar with the classic adventure photos in today’s world: a person in front of a waterfall, a tent lit up under a night sky, and a person sipping coffee in front of a mountain range. These romantic images perforate our social media feeds and make us dream of waking up with cold noses in sleeping bags and bucket list destinations.
What I have quickly learned is that you don’t need to buy a plane ticket across the world to have more adventure in your life. Sometimes my favorite images are from walks around the neighborhood or small outings into the mountains. Here are some of my favorite tips for creating adventure-inspiring content to add to your social media feeds.
Step up your Instagram game
1) The first thing to remember is that adventure doesn’t happen until you leave your front door. So grab your camera, your beat up old Nalgene and a backpack and set off into the unknown.
2)Keep in mind the rule of thirds. Many times, cameras come equipped with a small grid that can help give a guideline to center things in one third of the image. Aesthetically, images tend to look more pleasing to the eye if the subject is in a corner versus the middle.
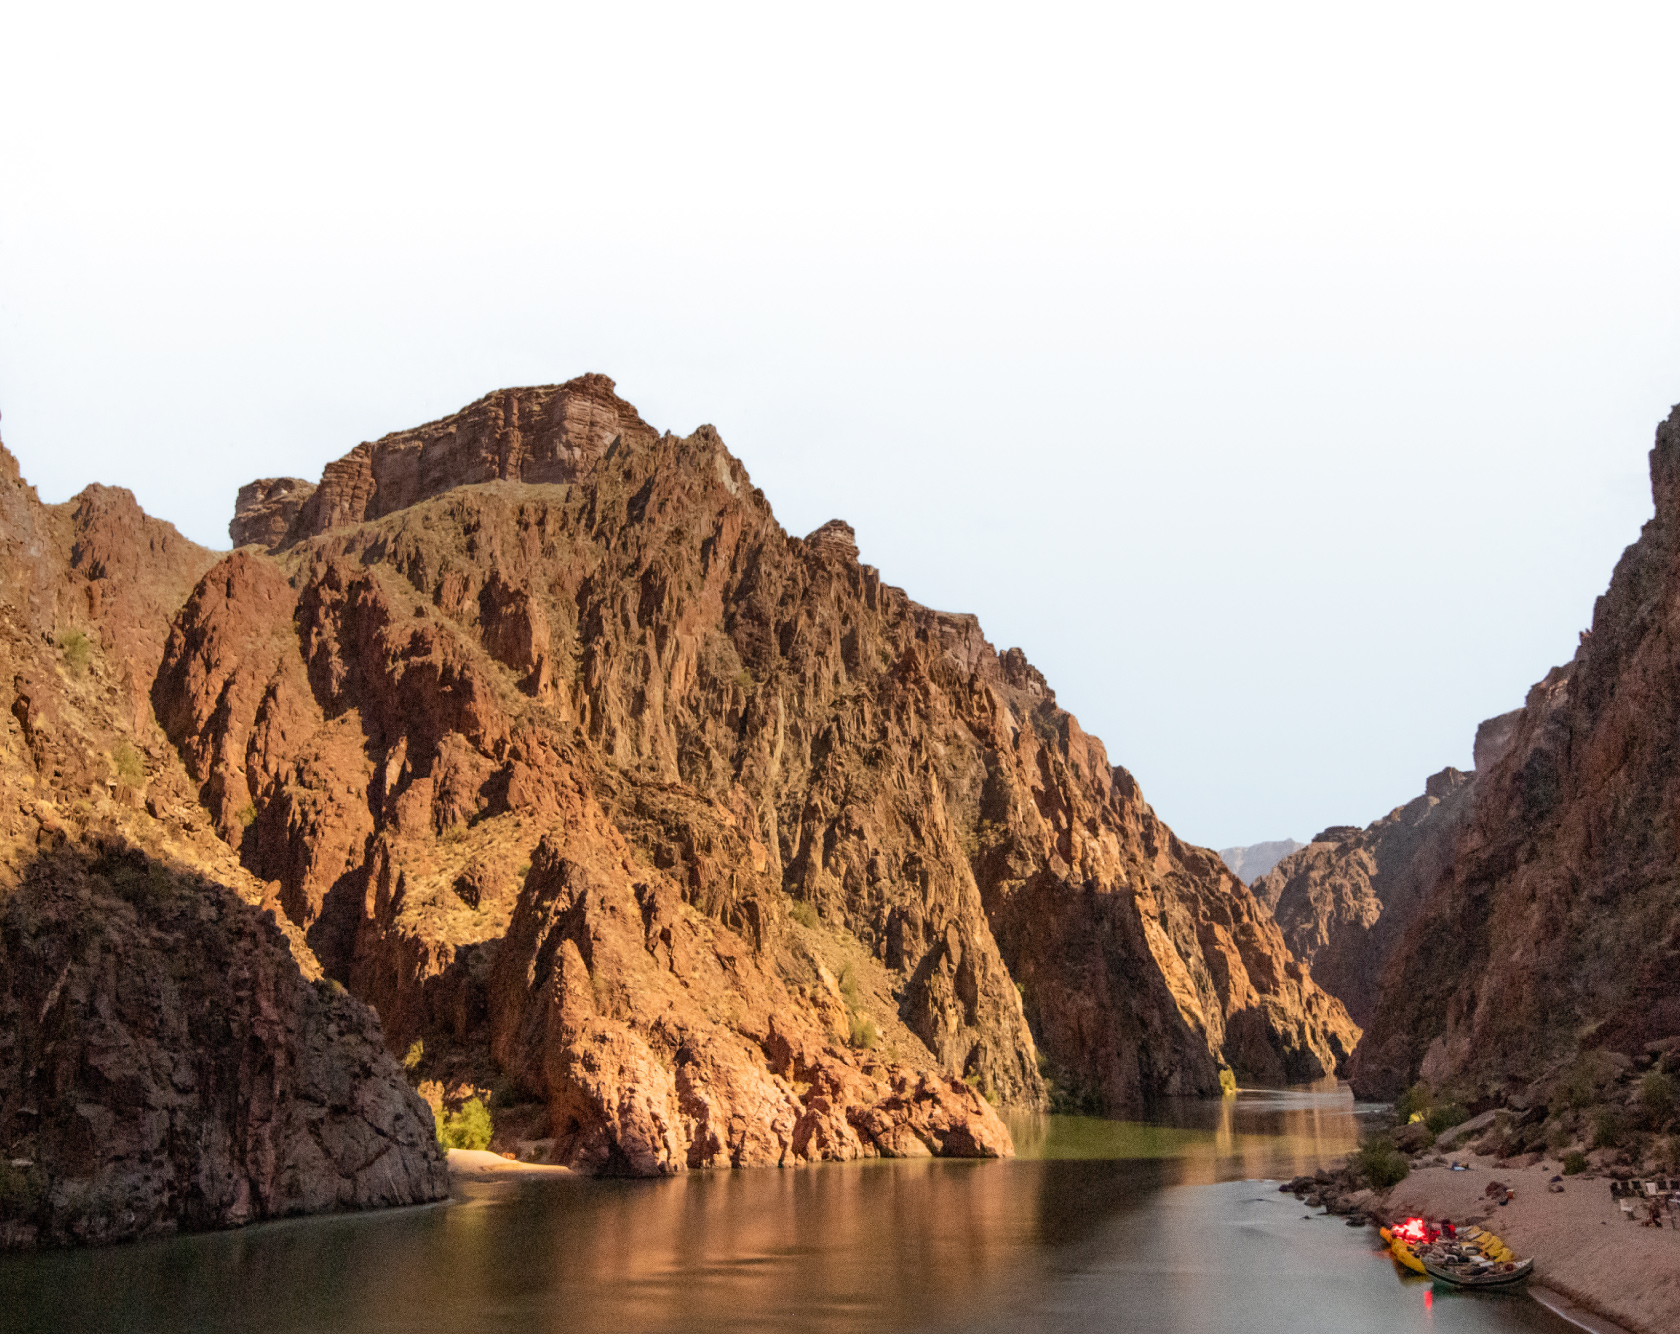
3) The next time you’re scrolling through your Instagram feed, pay attention to the time of day that the image might have been taken. Sunlight gets softer in the early and later parts of the day when shadows aren’t so harsh. The lighting of your image can dramatically influence the way it feels. My favorite times to shoot photos are 6 to 8 a.m. or 6 to 8 p.m. when sunlight turns everything golden. I love myth-busting the “don’t shoot into the sun” rule, too! If you position yourself to stand in the shadow of your subject with the light behind them, a poorly exposed image might turn into a really cool silhouette.
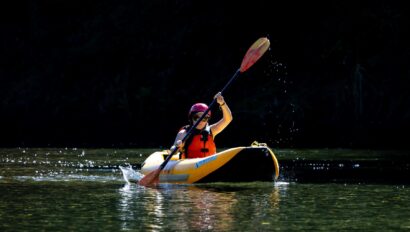
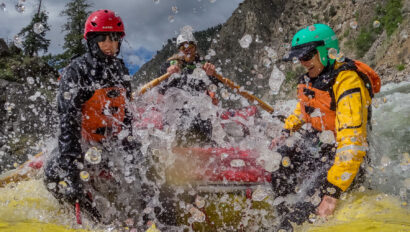
4)If your camera or phone has a multiple exposure or sports mode, try using that setting when it’s an action shot. Photography is all about the magic of timing and light, colliding into a beautiful image. If you’re trying to time the perfect cliff jump photo but you’ve only got one or two chances to press the shutter, odds are your friend might get wet a few times before you nail the shot.
5) If you’re shooting on your phone, try moving positions instead of zooming. With today’s technology, the zoom can be excellent, but too much of it can make the image look grainy. If you are able to move around and get a little closer to the subject, opt for that first.
6) Once you’ve gotten the shot you’re excited about, the last step before posting is to import it into an editing program. When I’m shooting on my camera, I like to use my laptop-based program, Lightroom, to edit images. If I’m shooting on my phone, there are two key apps that I’m loyal to. The first is Lightroom Mobile, which does almost everything the computer program does, and Snapseed. I typically like to use both programs on an image and some of my favorite tools are selective, clarity and highlight-save.
So next time you’re out on a trip and want to capture the magic around you, try experimenting! One of the best parts of photography is finding what works for you, so have fun and remember to look around; some of the best images are things that people tend to overlook.