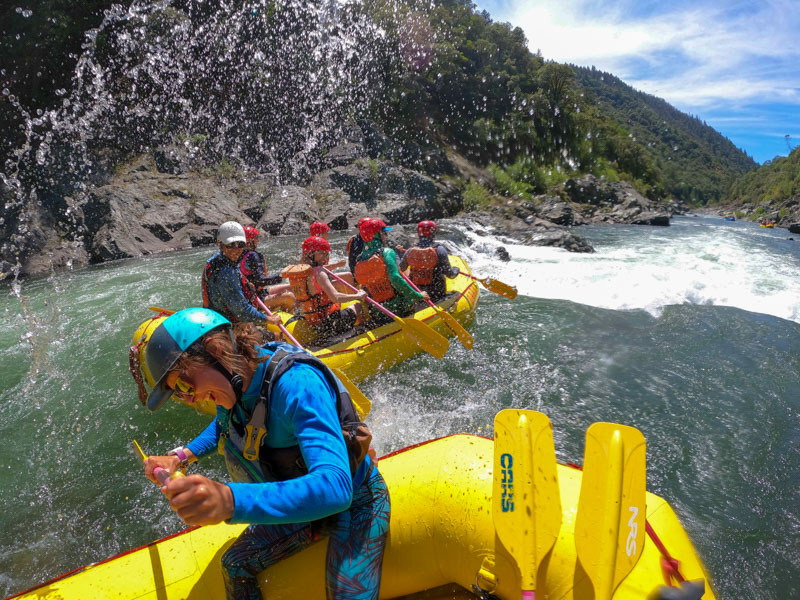
How to Get the Most Out of Your GoPro on a Rafting Trip

GoPro has come a long way for a little action camera. The quality of the photos and especially the video has improved by leaps and bounds since the first Hero models. The camera itself has also gotten more rugged and versatile. Though it’s small, GoPros are capable of capturing amazing memories, especially in the wildest whitewater. Dare we say, it might be the perfect camera for rafting trips.
Helpful GoPro Accessories
Good-to-know GoPro Tips
1) Conserve Battery using QuikCapture
QuikCapture is a feature that allows users to quickly turn the camera on and start recording with the one push of the record button. To use it, make sure it’s activated in the camera’s preferences menu. You can also set the mode (photo/video/timewarp) and the resolution that the camera starts recording on in the menu. Another tip to help your battery life is to make sure unnecessary features like WiFi are turned off.
2) Get to know the lens
Though they allow a little zoom, GoPro’s lenses are extremely wide. They’re not especially good for shooting things that are more than 10 feet away (unless that thing is really big!). Before shooting, check your framing on the front or back LCD.
3) Use the right memory cards
Newer GoPros need faster and higher capacity microSD memory cards than previous models. Without the correct memory card, your camera can freeze or become glitchy. Make sure to test your camera before your trip to make sure it’s compatible with your cards. Another tip is to format your card in the camera menu—just make sure to save all your files first as formatting will delete everything. And always bring a spare!
4) Don’t rely entirely on the mounts
GoPro mounts are plastic and can fail. Whenever possible use an additional tether or zip tie to secure the camera in case it’s knocked from the mount or the mount breaks.
5) Clean your lens
The enemy of a good GoPro shot is mud, snow or water droplets that always want to stick to the camera lens. Sometimes this is unavoidable, but it’s well worth checking your camera lens before you set up for a shot to make sure it’s clean. There’s nothing worse than capturing an awesome moment and then finding there’s a splotch in the photo or video.
Shooting Video With Your GoPro
GoPros are amazing video cameras. With the introduction of “Hypersmooth” stabilization in the Hero7, the action footage went from good to great. Around that same time, GoPro offered 4K resolution at an impressive frame rate of 60fps. And it’s only gotten better with each iteration of the camera. Here are a few tips to get the best video.
4K Resolution
For most situations, you want to set your camera on 4K. This will give you sharp, crisp video that you can see detail in, even on a large screen. Though the Hero9 offers even greater resolution, it’s not worth using unless you’re planning to heavily edit your video.
Frame Rate
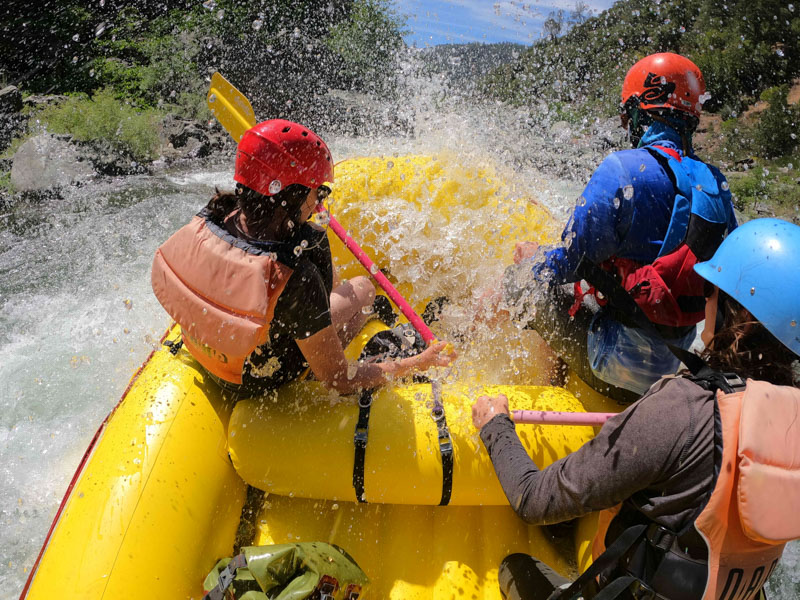
Frame rate is the number of individual frames that are put together to create one second of your video. Most video runs at a normal speed of 30fps. If you shoot in 60 fps, you can slow the footage down to half its normal speed and still have smooth, unchoppy video. This is useful for fast action like whitewater where a little slow motion can allow you to relive each and every moment. Keep in mind that GoPro offers frame rates at up to 240fps (see video above), so you can slow videos down up to ⅛ of their original speed, though it’s only available at lower resolutions.
Stability
This one is kind of a no-brainer. If you’re shooting video at any time without using a tripod, do yourself a favor and turn the Hypersmooth on. It will make everything look smoother. Whenever possible, try to hold the camera steady and keep it pointed at the action.
Landscape vs. Vertical
Another fairly new feature of GoPro is the ability to shoot vertical video. If you’re planning on using your shots on mobile, you might consider shooting vertical. If not, you can turn the camera’s auto-rotate function off, so you don’t accidentally end up with sideways footage.
Auto vs. Manual
Newer GoPros have a ton of customizable camera settings. This includes almost full manual settings like shutter speed, aperture and ISO. If you’re looking for a very specific look, it might be worth making some adjustments to these. To get reliably good video, we recommend sticking with the automatic settings.
Shooting Photos With Your GoPro
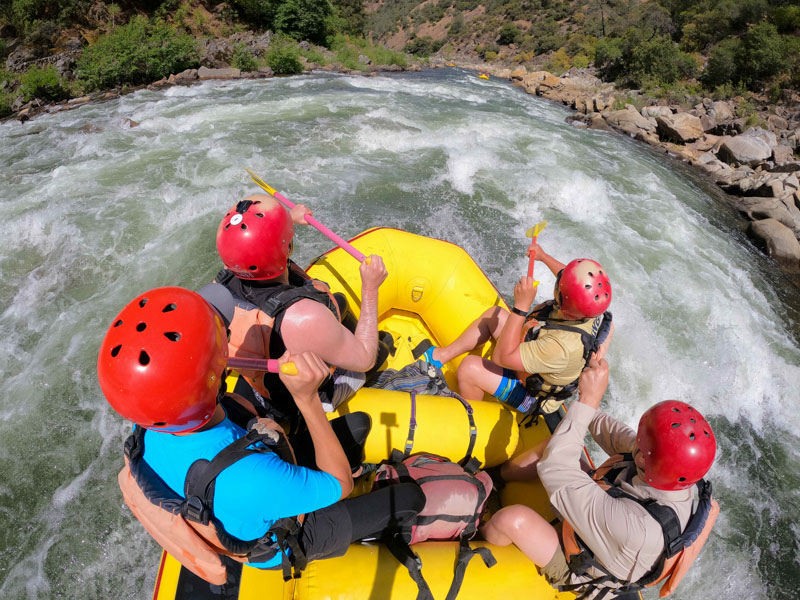
Though not as strong for photography as video, GoPros are still capable of grabbing incredible still shots. Part of this is the useful photo modes that can take a series of images faster than you could press the shutter button or shoot at a set interval. For shooting photos on the river, here are a few of our recommendations.
Snap a lot
No matter what you’re shooting with the GoPro, make sure to take a lot of photos, especially if you’re shooting with automatic settings. Even fractions of a second can be the difference between a good photo and a great photo. To maximize your chances of getting an awesome shot, always take more photos than you think you need.
Know your lighting
GoPros don’t excel in low light situations. Images will often be grainy or moving subjects may be blurry if shot in dim conditions. This is most problematic indoors. Usually outside, there’s plenty of light. We recommend looking for interesting lighting conditions like sunset or dawn, but even in the bright sun of the afternoon GoPros can get fantastic photos. For night shots, use the dedicated night mode.
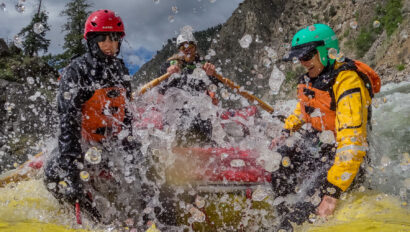
For action shots, manipulate the modes
If you’re looking to capture the peak moment of action, you’re going to need to shoot fast. There are a couple of ways to do this. Using their timelapse feature, GoPro will allow you to shoot a photo every half second. This is great for long rapids where you’re getting a few good splashes. The other option, if you can put the paddle down and focus on the camera, is to use the burst mode. This will shoot up to 25 photos in one second, meaning you’ll capture the movement of every drop of water. But with this, your timing needs to be spot on, as the camera will buffer for a while after recording and you may not get a second shot.
Have GoPro tips to share or questions? Chime in below.
*An earlier version of this post was first published in August 2013 and has been completely updated & rewritten
*PLEASE NOTE THAT SOME OF THE LINKS ABOVE ARE AMAZON AFFILIATE LINKS, AND OARS WILL EARN A SMALL COMMISSION IF YOU DECIDE TO MAKE A PURCHASE AFTER CLICKING THROUGH THE LINK.
Sign up for Our Newsletter